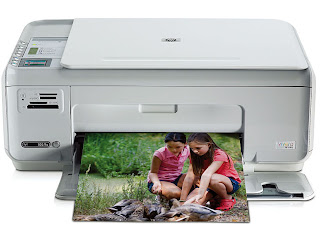
You often discover that your wireless Printers always comes with a transmitter with a wireless adapter and can print from any location in a home. When you need to configure a wireless Printer, you need to install the drivers and software from the installation CD that comes with the Printer. You can even run the configuration for the Printer driver, for the laptop, at the end of the software installation.
Firstly just insert the installation disc for your wireless Printer into the drive on your laptop computer. Now just wait for the Installation Wizard to appear. When it appears click the "Next" button to continue and go through each screen to install the software for the Printer.
Always remember you have to select the option to "Configure Printer driver now" on the last screen of the Installation Wizard. You should click on the "OK" button when the Information dialog box appears. From there just select the Printer port for your Printer when Printer Port Setup dialog box appears. There just click the "OK" button when the "addport" dialog box appears. Click "Next" to continue.
Select your particular wireless Printer from the list of installed Printers when Add Printer Wizard window appears and click "Next" to continue. You just have to click the "Connect" button when Configure Printer Port dialog box appears.
Wait for the connection to be made with the wireless Printer and click the "Finish" button to exit Add Printer Wizard dialog box. Remember to repeat this process on each computer that you want to connect to the wireless Printer.

No comments:
Post a Comment